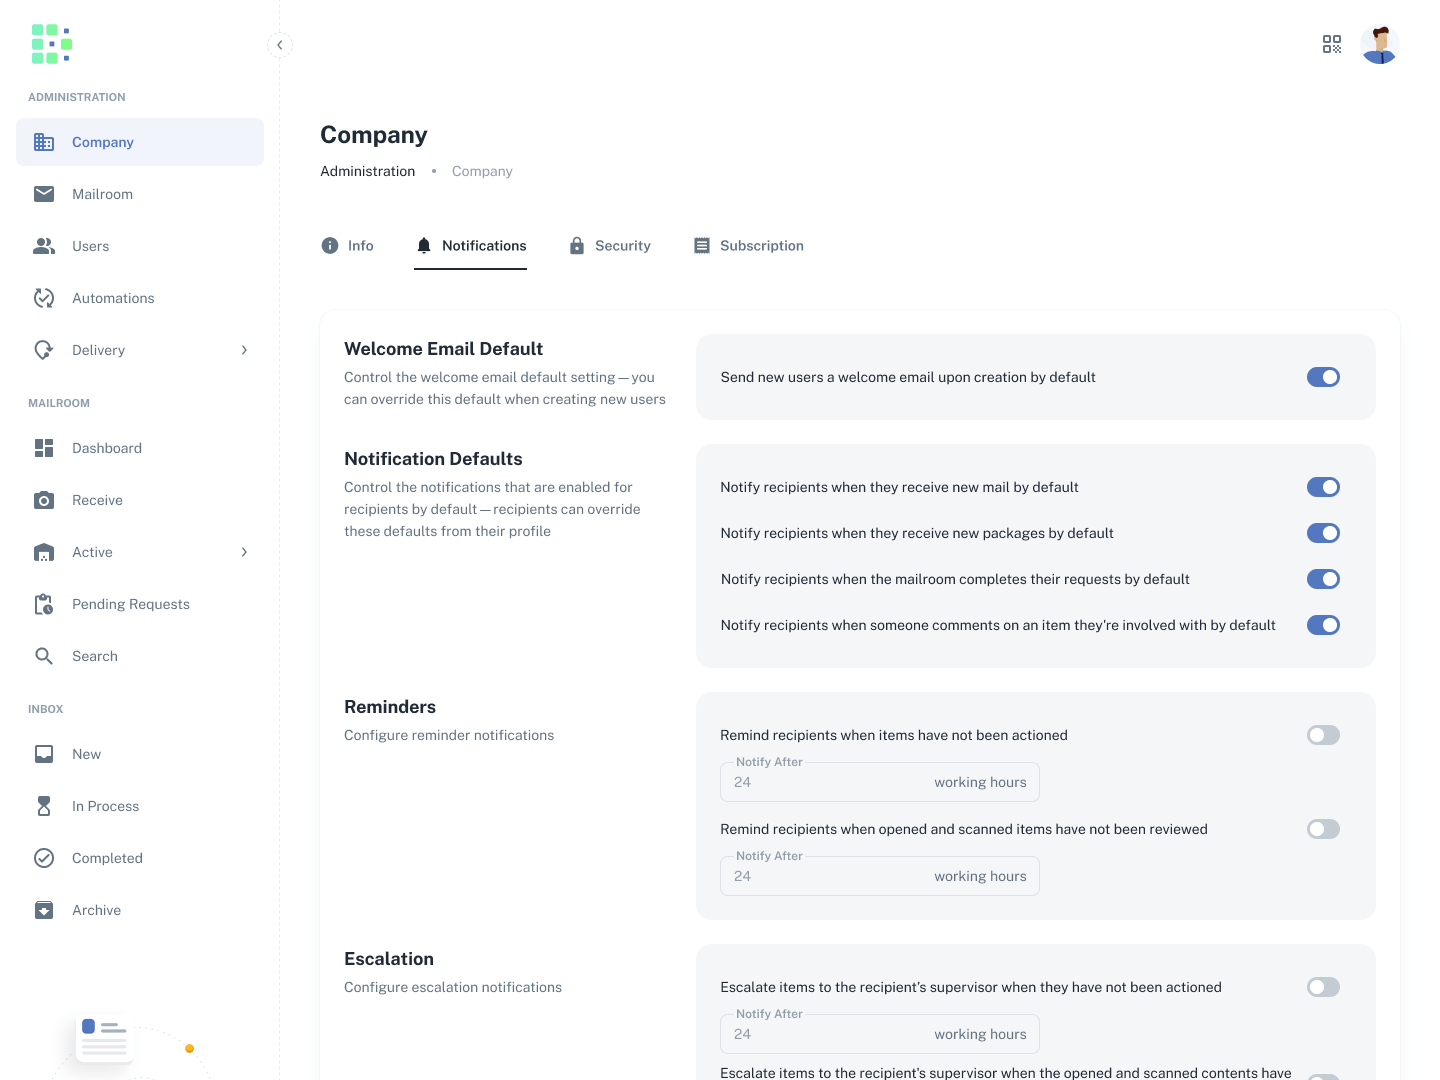
When a reminder notification isn’t enough, you might want to escalate items that haven’t been addressed by the recipient to a superior. To do this, you can set up escalation and assign supervisors to recipients. When an item is escalated, two things will happen:
- The recipient will receive a notification informing them that the item has been escalated to their supervisor.
- The recipient’s supervisor will receive a notification and gain access to the item, allowing them to action it on behalf of the recipient.
There are two different cases for which you can configure escalation:
- When a recipient has an item that has not been actioned within a specified period of time after the reminder notification
- When a recipient has not reviewed the contents of an opened and scanned item within a specified period of time after the reminder notification
Assigning supervisors
There are two ways you can assign supervisors to recipients:
- Assign supervisors one at a time by editing users
- Assign supervisors in bulk with an upload file
Edit user
To assign a supervisor to a recipient by editing a user …
- Under the the Administration section in the left menu, click Users.
- Find the user you’d like to assign a supervisor to, and click the three dots next to that user. Select Edit.
- Find the Supervisor field, and make a selection.
- Click Save Changes.
Upload file
To assign a supervisor to a recipient with an upload file …
- Under the the Administration section in the left menu, click Users.
- Click the upload icon in the top right of the table.
- Download the sample file, and fill in the Email and Supervisor Email columns for each user that you would like to set a supervisor for.
- Upload your file and complete the rest of the steps in the upload users process, being sure to select Supervisor Email under the User Updates section. This will ensure this field is updated when you complete the upload process.
Configuring escalation
To configure escalation …
- Under the the Administration section in the left menu, click Company.
- Navigate to the Notifications tab, and scroll down to the Escalation section.
Use the switches to control which cases you would like to configure escalation for, then specify the number of working hours you would like to let pass before the item is escalated. The time starts after the corresponding reminder notification is sent. To learn how to change your mailroom’s hours of operation, check out Changing your mailroom’s hours of operation.
When you’re done, click Save Changes.
