Setting up single sign-on (SSO)

Setting up single sign-on (SSO)

To make signing in to Received Digital easy and secure for your users, Received Digital supports single sign-on (SSO) with any SAML 2.0 identity provider.

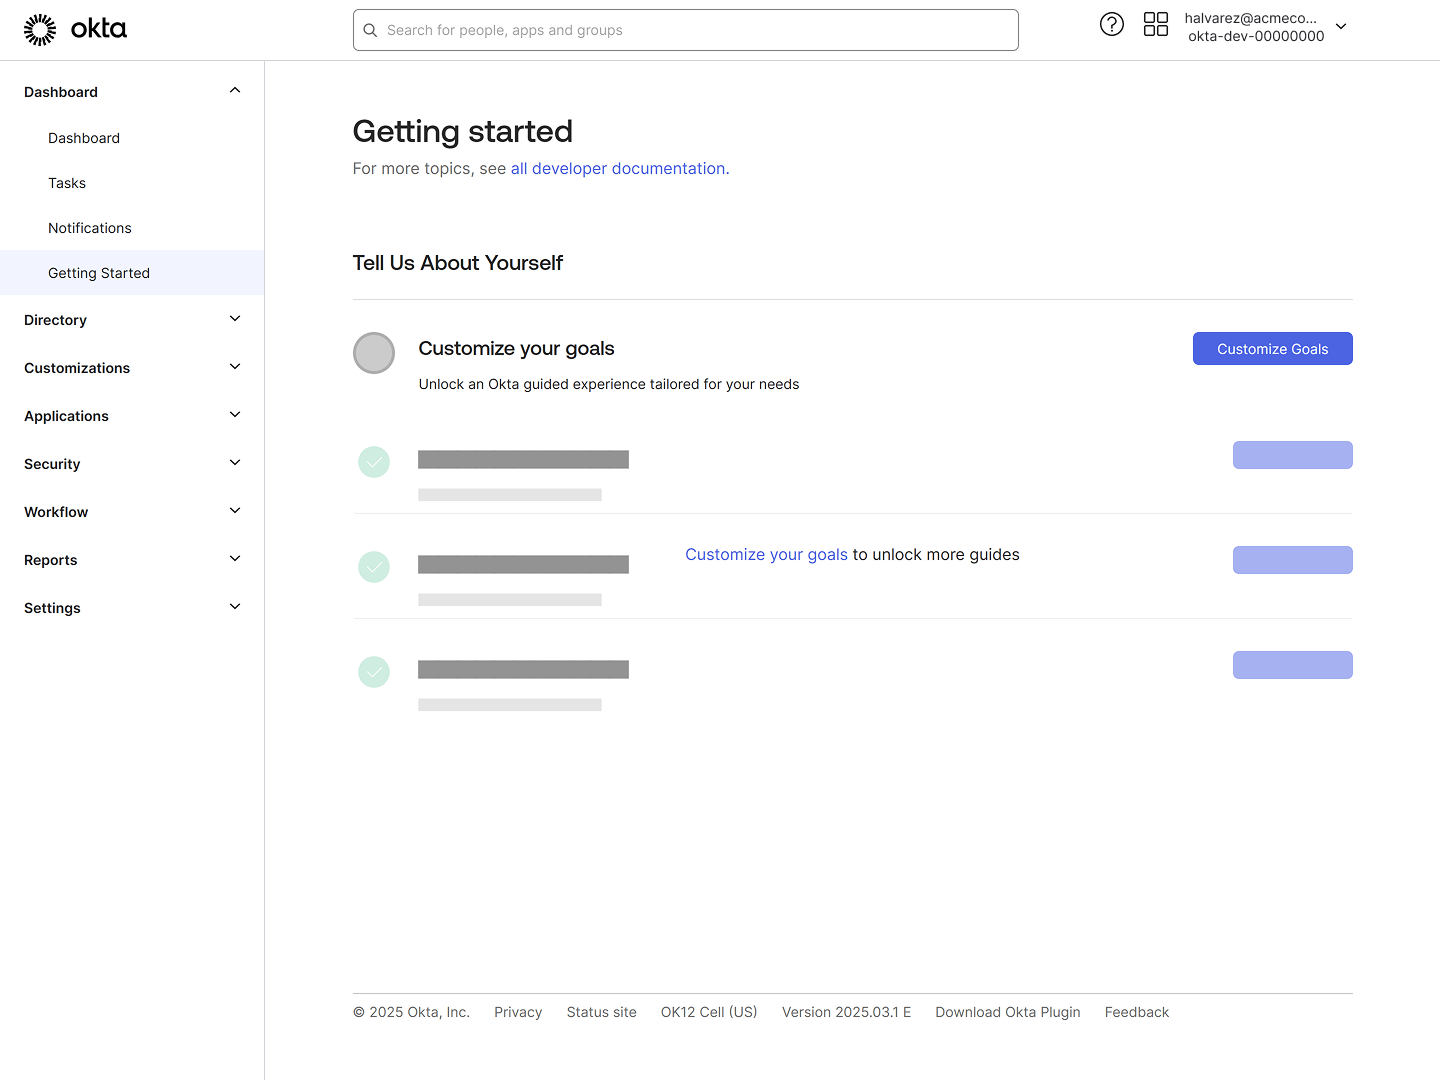
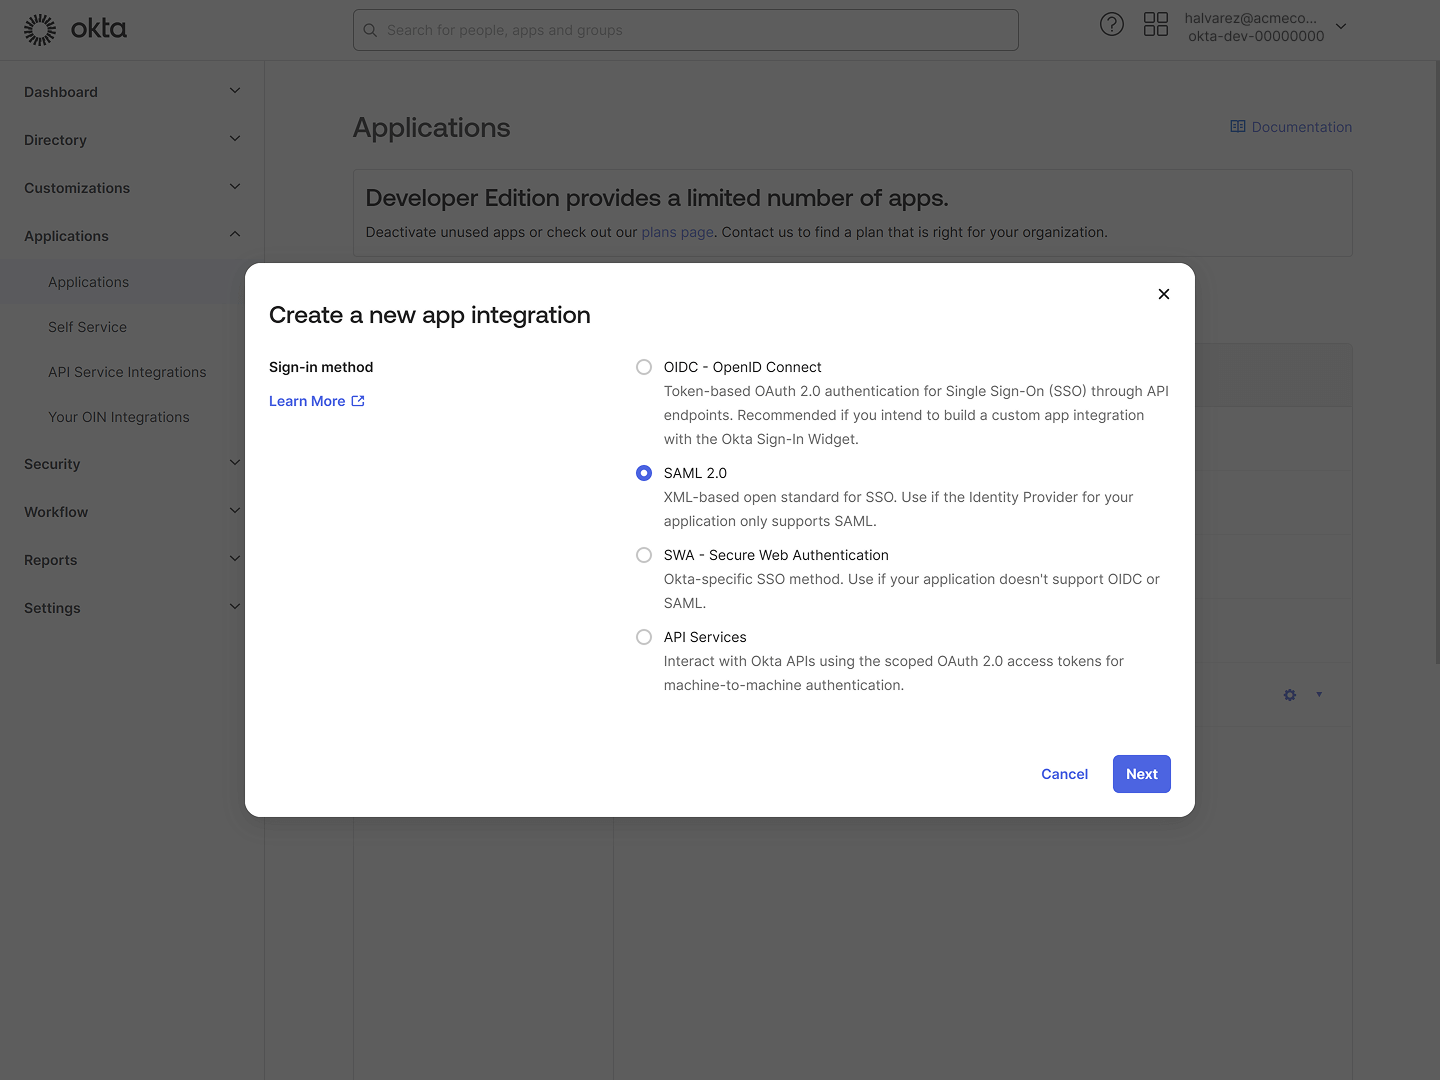
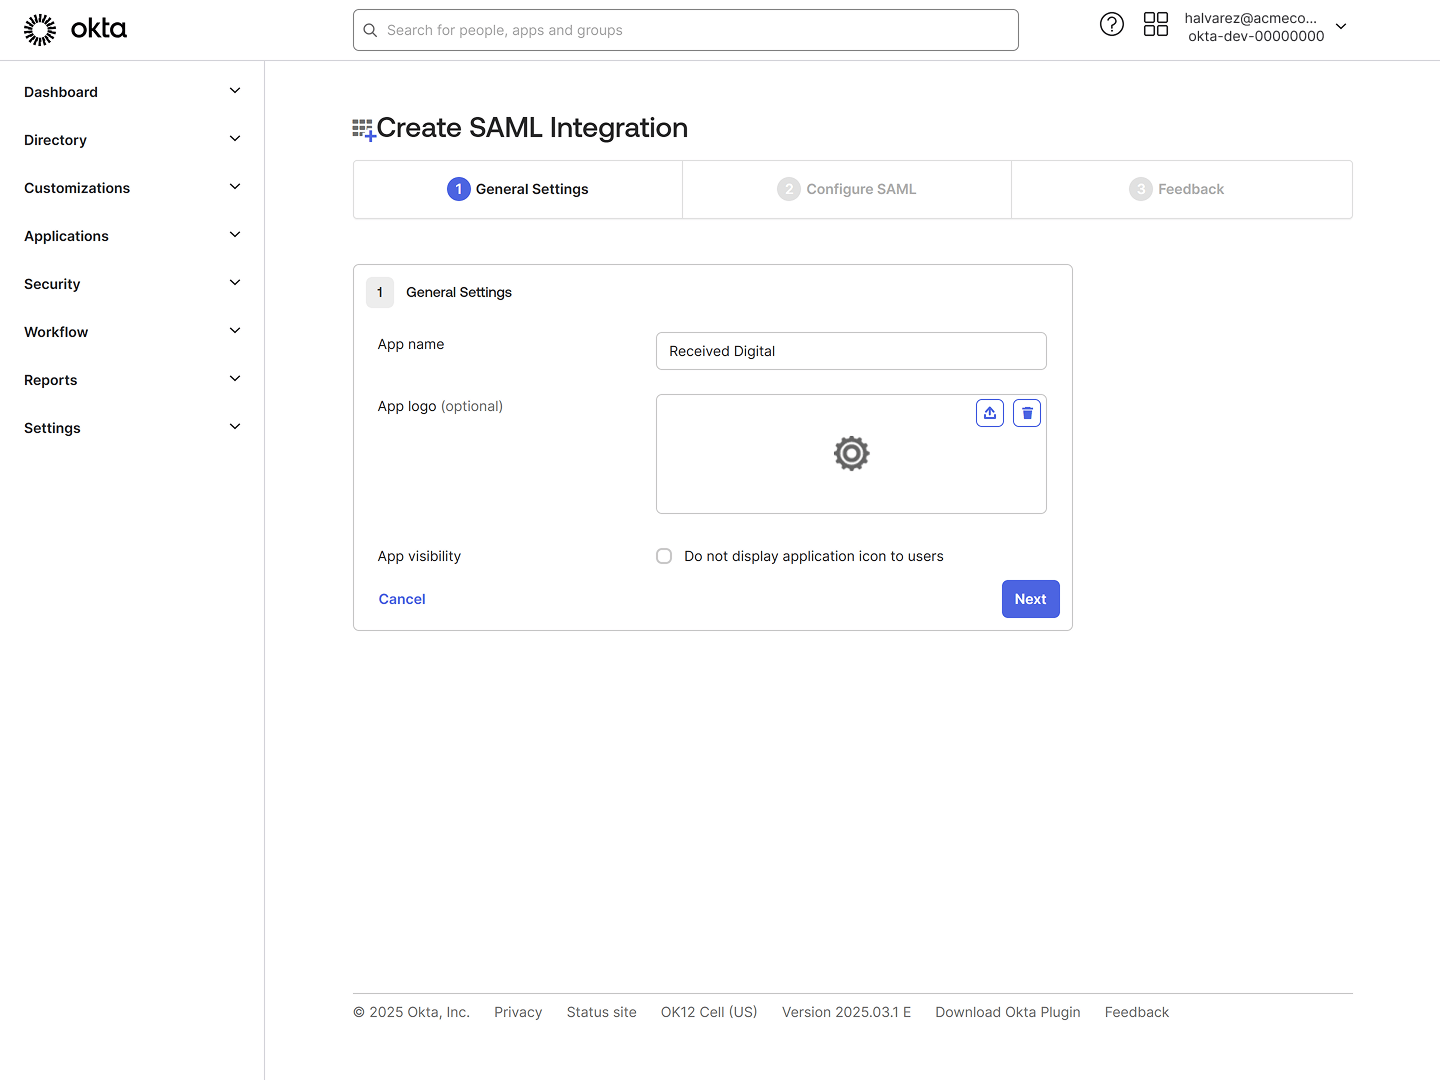
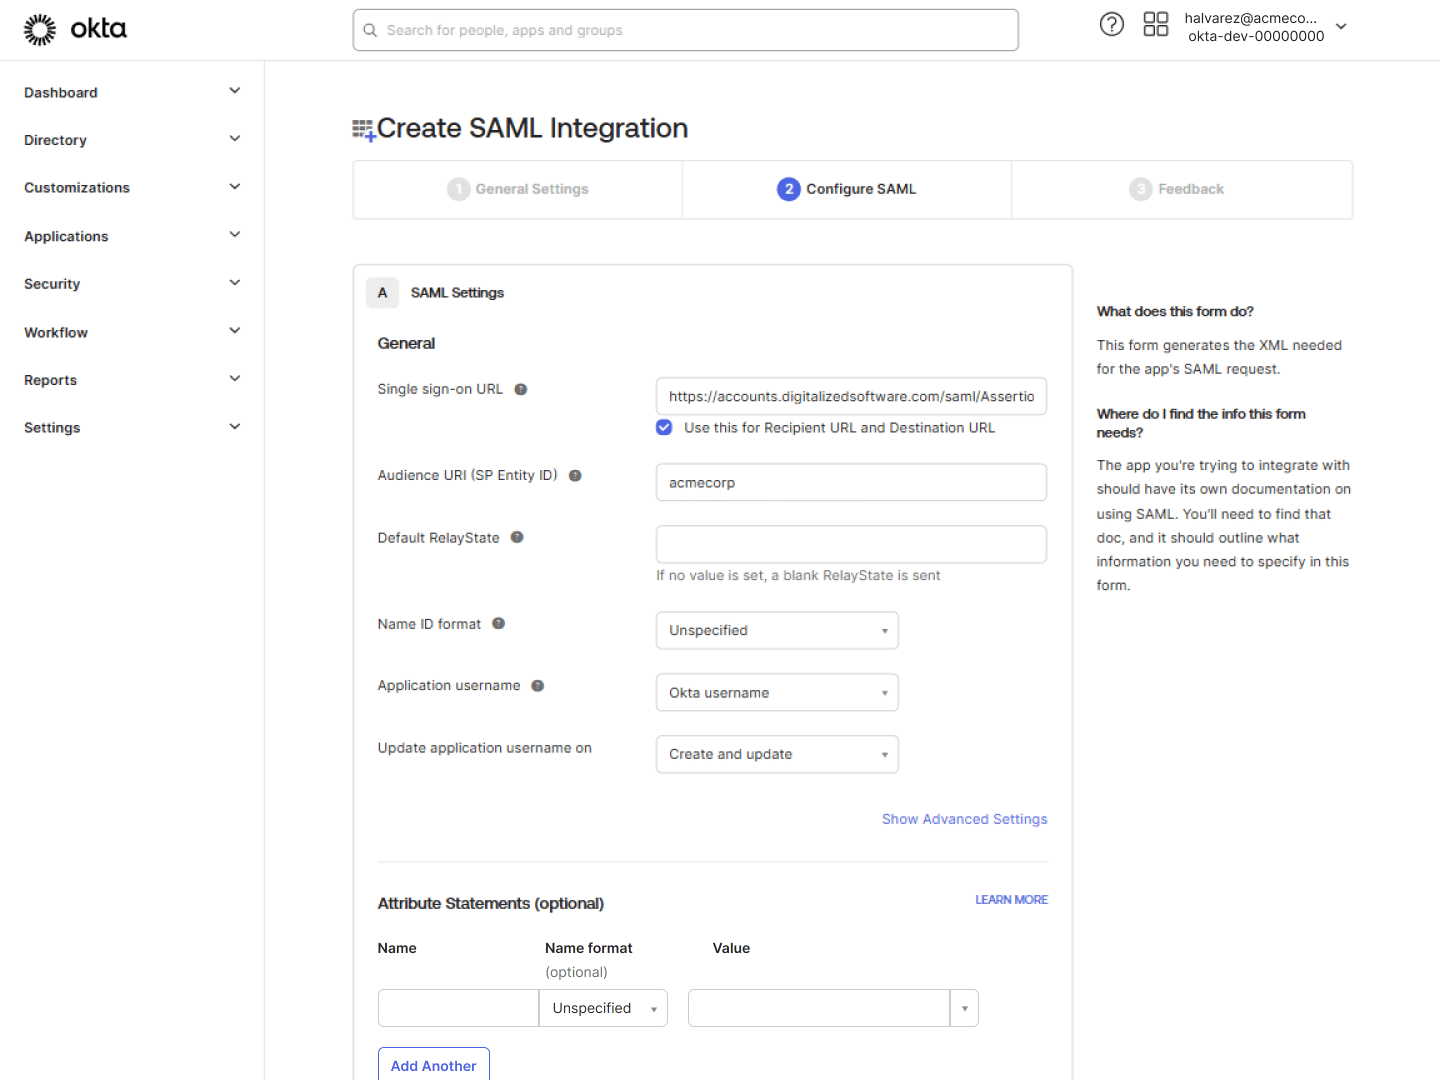
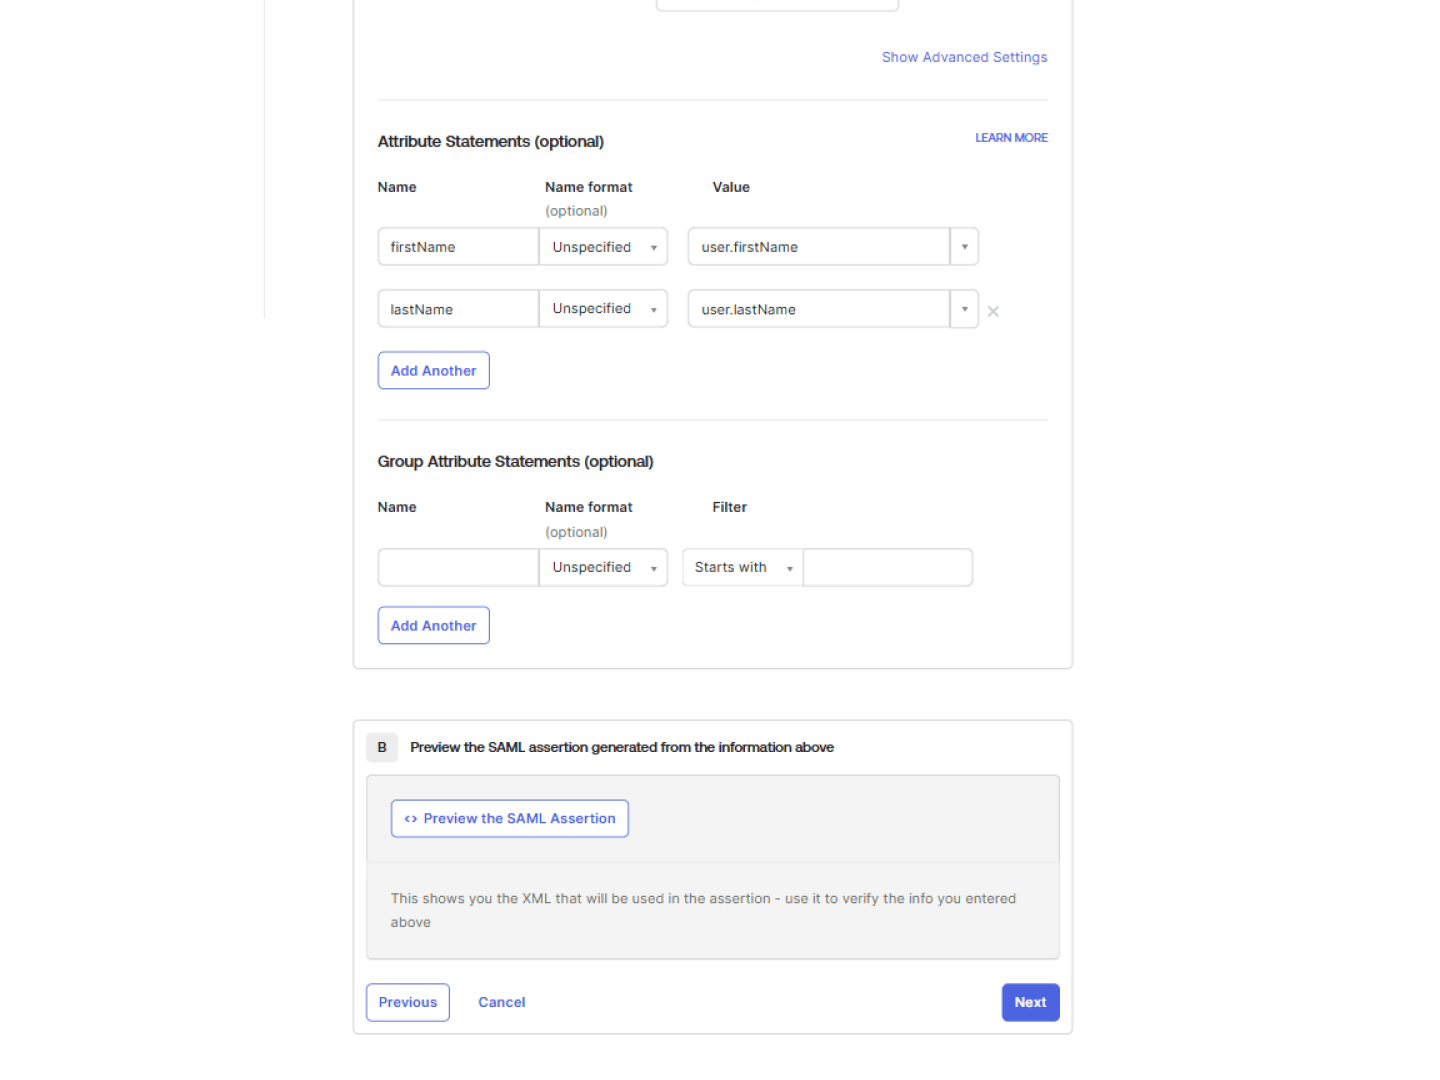
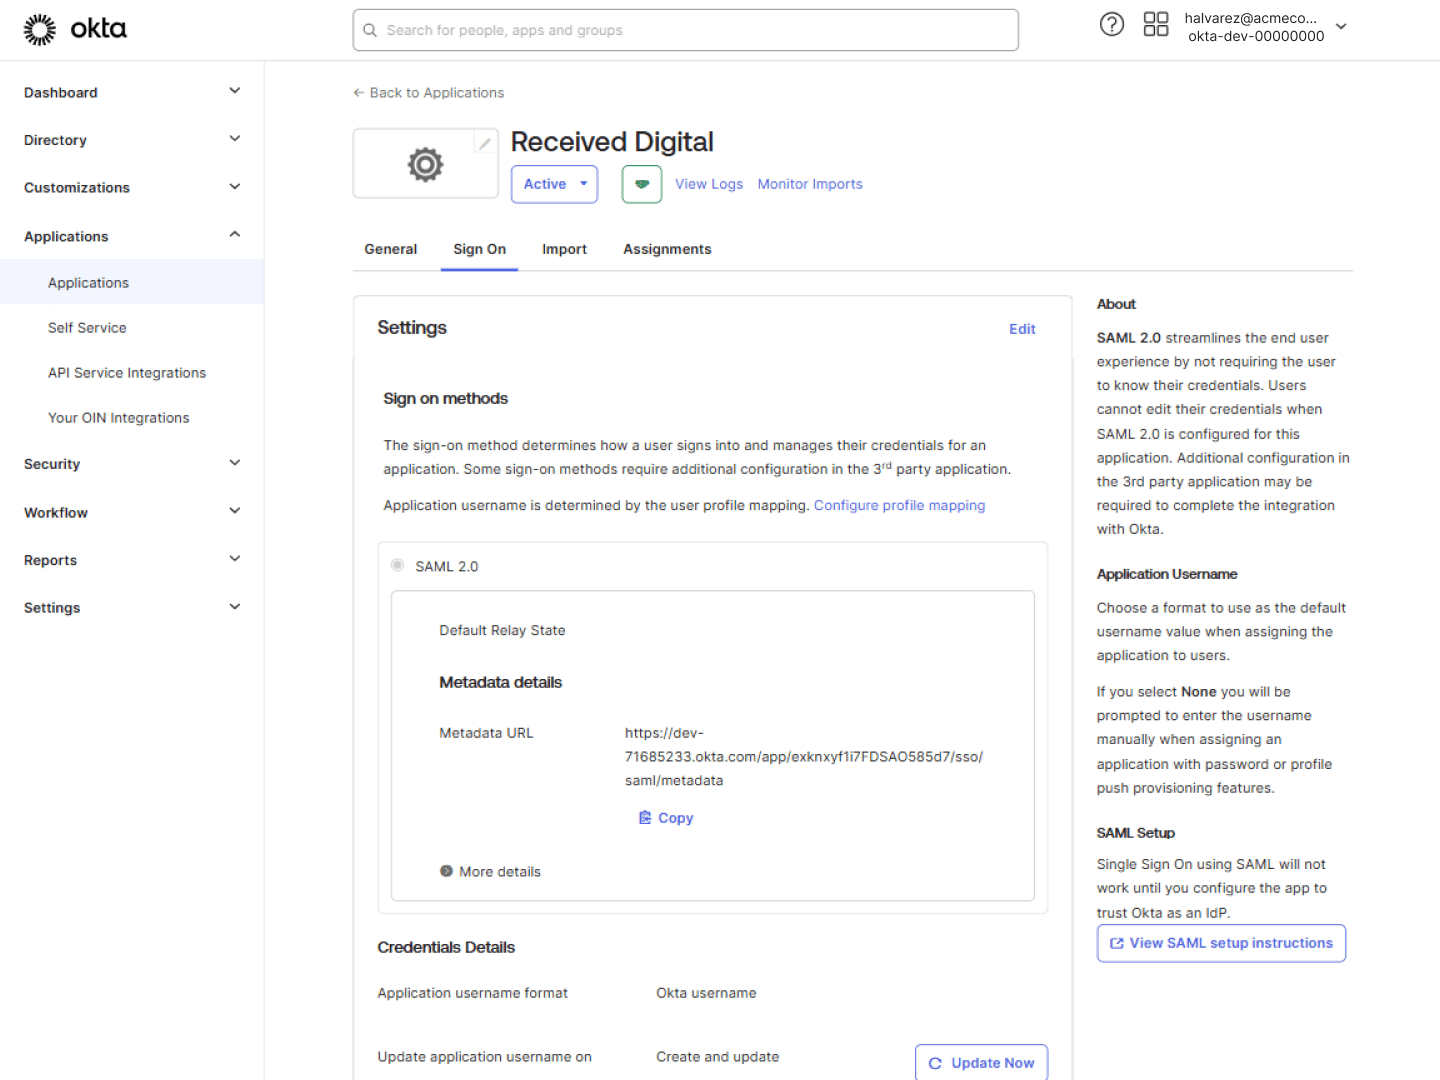
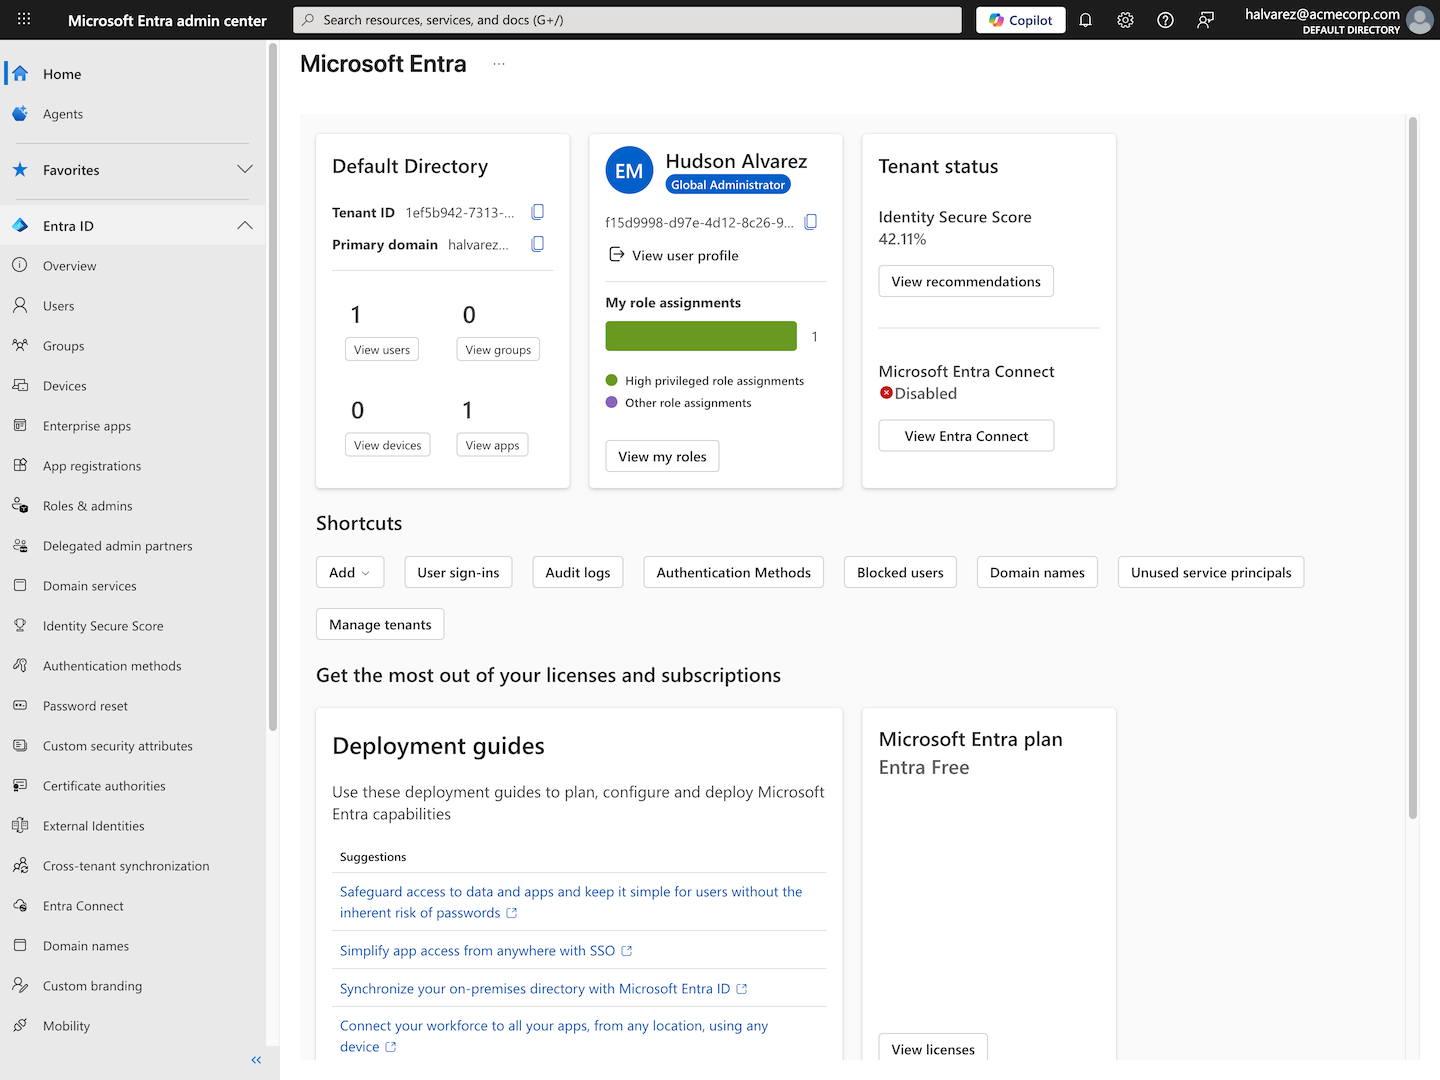
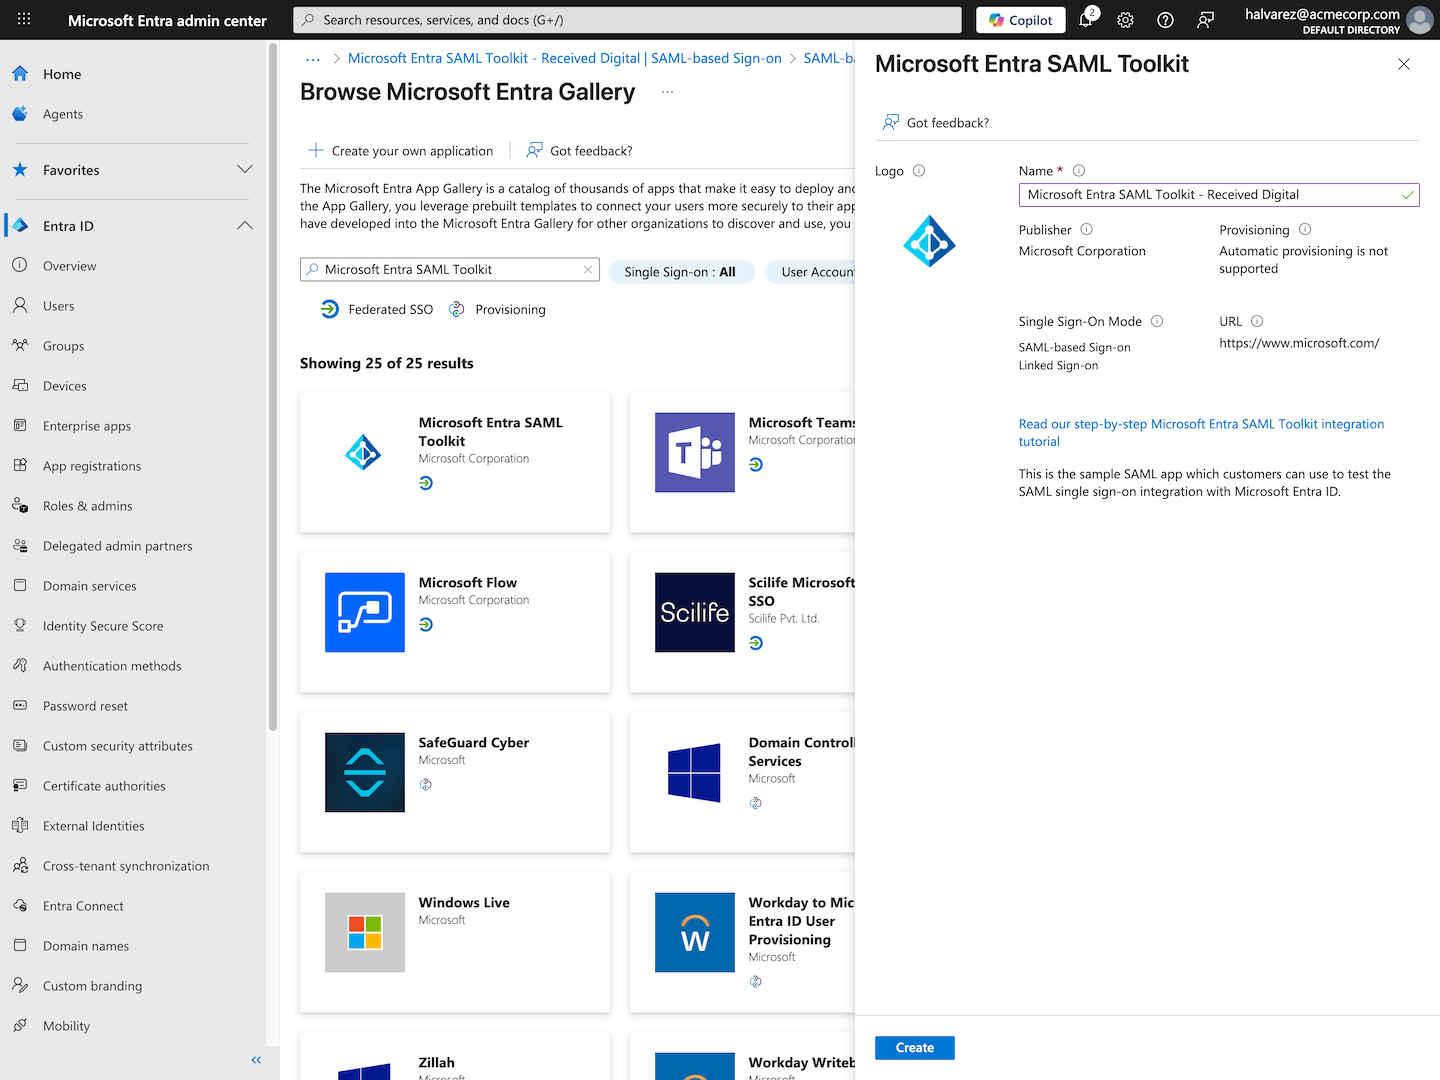
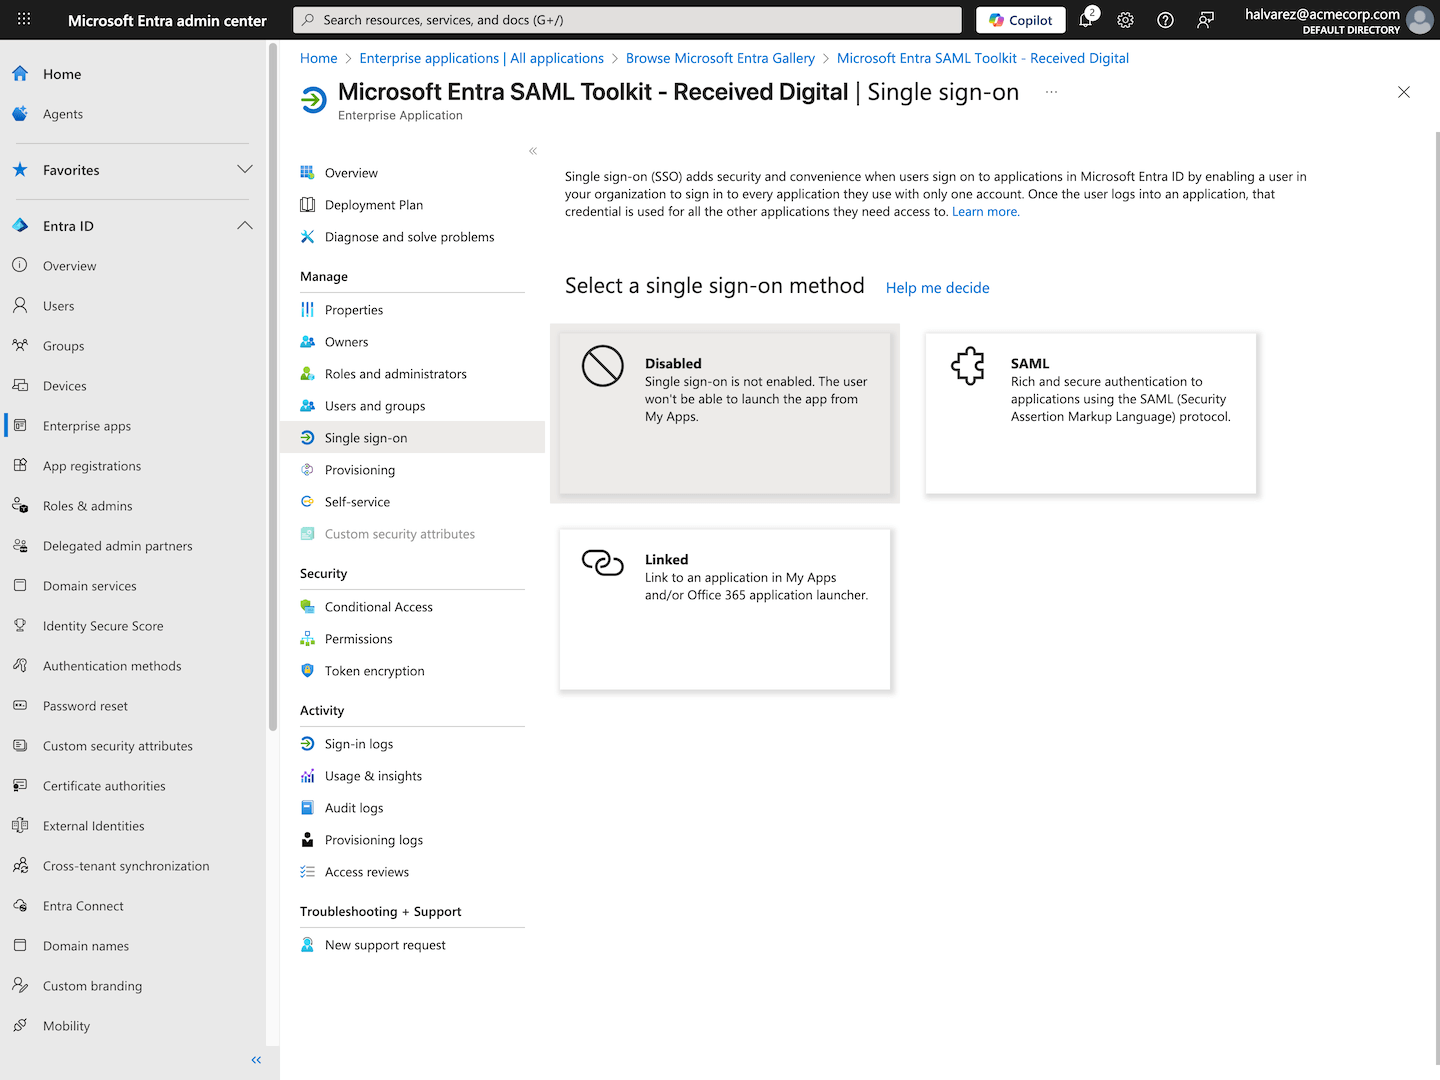
Below, you’ll find instructions for setting up SSO with Okta and Microsoft Entra, though the process will look similar for any SAML 2.0 identity provider.

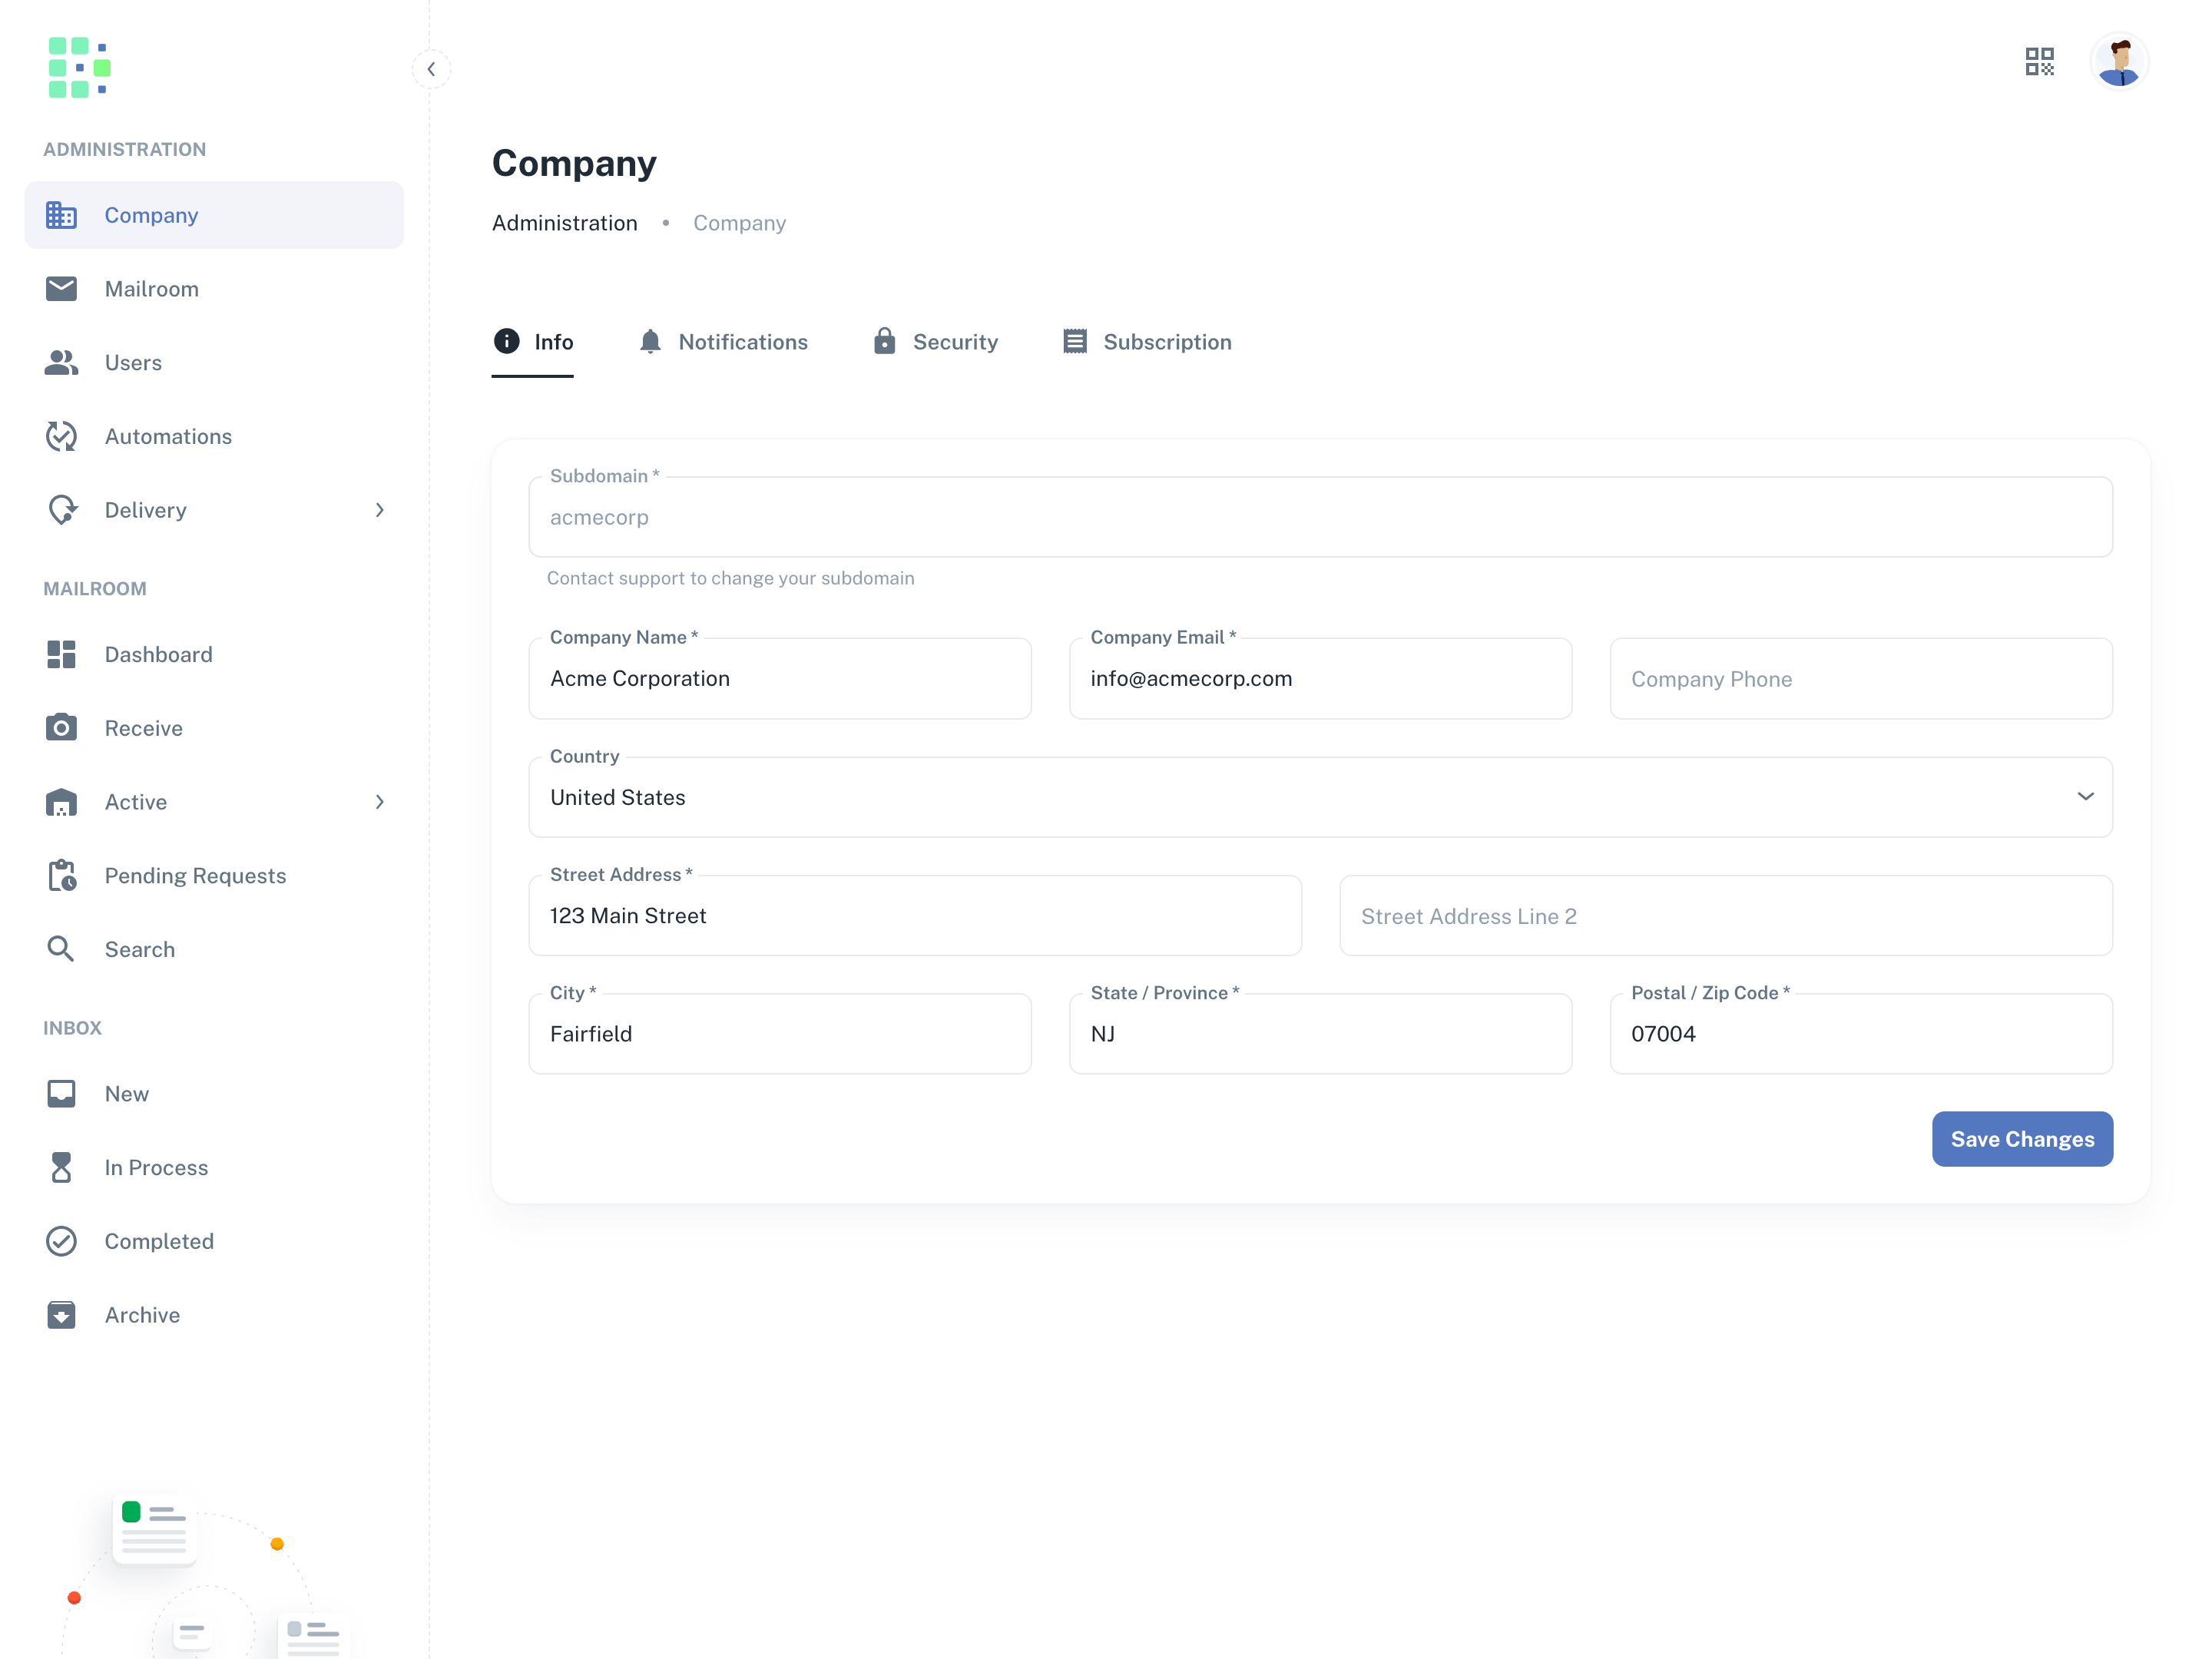
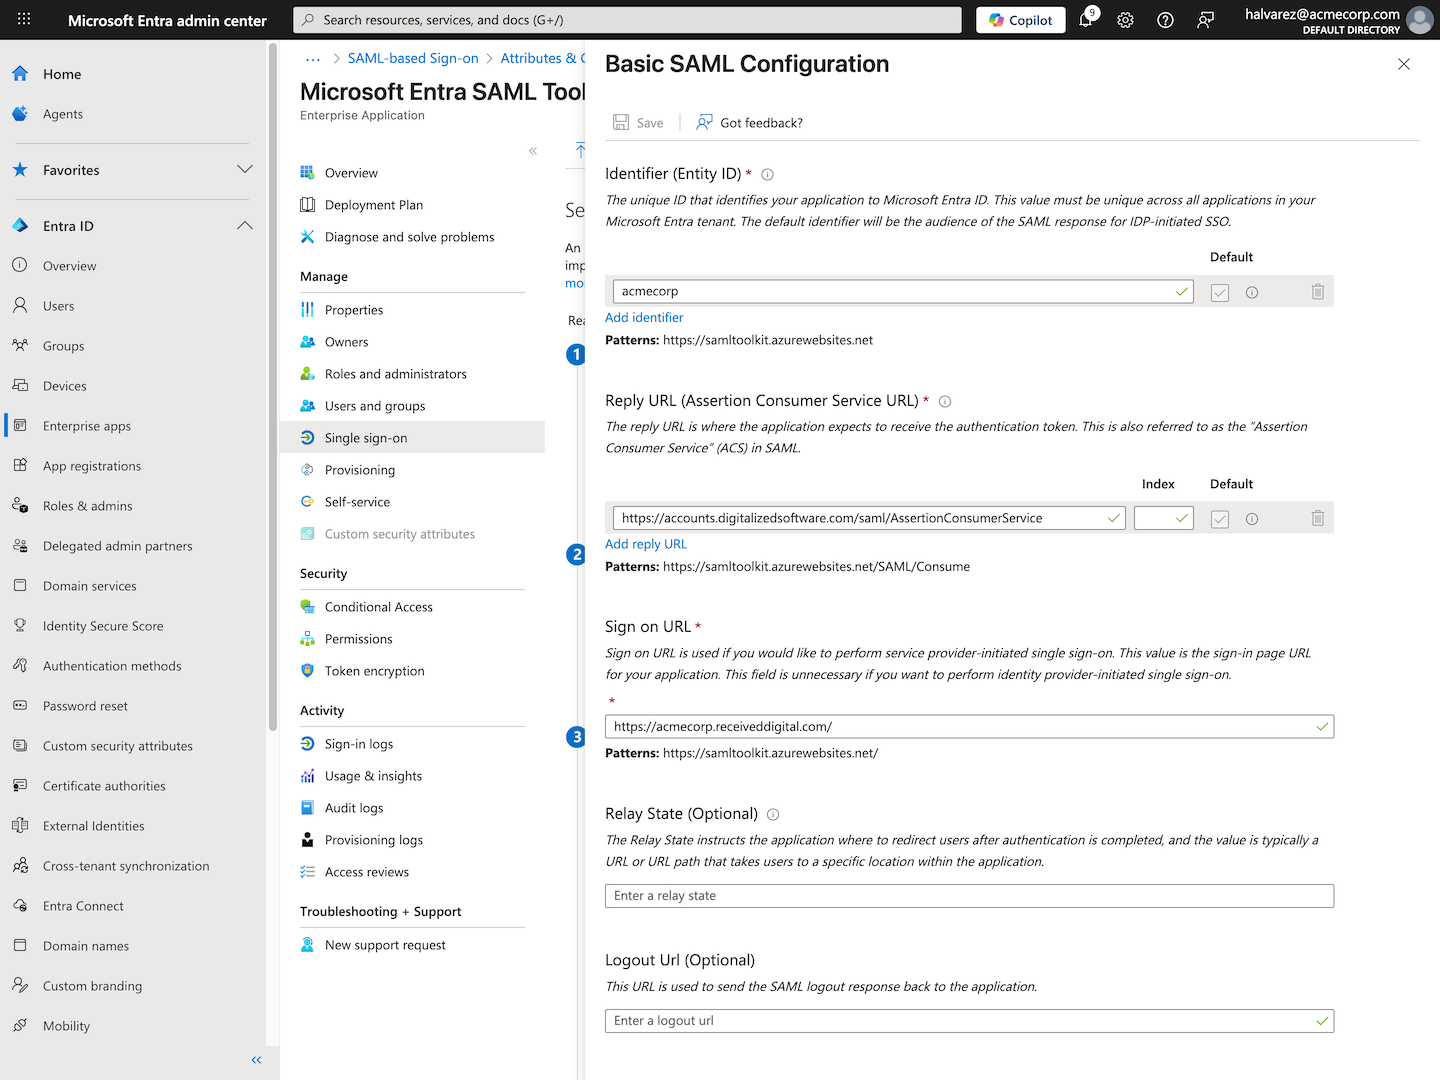
To complete the setup process, you’ll need access to your identity provider account. You’ll also need to know your company’s Received Digital subdomain. See the instructions below to find this information.

Finding your company's Received Digital subdomain

To find your company’s Received Digital subdomain …

  1. Log in to Received Digital.
  2. Under the Administration section in the left menu, click Company.
  3. Find your company’s subdomain in the first field at the top.

Setting up SSO with Okta

To get started, log in to your Okta admin account.

Create a new app integration

Create a new app integration for Received Digital:

  1. In the left menu, expand the Applications group, and click Applications.
  2. Click the Create App Integration button above the table.
  3. In the dialog that appears, select SAML 2.0.
  4. Click Next.

Enter general settings

  1. In the App Name field, enter a name for the app integration, such as Received Digital.
  2. Click Next.

Enter SAML settings

  1. In the Single Sign-On URL field, paste this URL:
				
					https://accounts.digitalizedsoftware.com/saml/AssertionConsumerService
				
			
  1. In the Audience URI (SP Entity ID) field, enter your company’s Received Digital subdomain.

Add attribute statements

Next, add two attribute statements:

  1. For the first, enter firstName for the name and select user.firstName from the dropdown for the value.
  2. For the second, enter lastName for the name and select user.lastName from the dropdown for the value.

Submit metadata URL

  1. Proceed to the end of the setup.
  2. Copy the Metadata URL, and send it to our team by submitting a support request here. Be sure to also include the name of the identity provider you are using.

Once you’ve submitted your request, we’ll complete the final steps and reach out to you when SSO has been enabled for your organization.

Setting up SSO with Microsoft Entra

To get started, log in to your Microsoft Entra admin center.

Create a new application

To create a new application …

  1. Under the Entra ID section in the left menu, click Enterprise apps.
  2. Click New application at the top.
  3. In the search box, enter Microsoft Entra SAML Toolkit and select it from the list.
  4. In the drawer that opens from the right, give the application a name, such as Microsoft Entra SAML Toolkit – Received Digital.
  5. Click Create at the bottom.

Select a single sign-on method

  1. Under the Manage section on the left, click Single sign-on.
  2. Select SAML from the list of single sign-on modes.

Edit Basic SAML Configuration

  1. In the Basic SAML Configuration section, click Edit.
  2. In the Identifier (Entity ID) field, enter your company’s Received Digital subdomain.
  3. Under Reply URL (Assertion Consumer Service URL), click Add reply URL, and paste this URL into the field that appears:
				
					https://accounts.digitalizedsoftware.com/saml/AssertionConsumerService
				
			
  1. In the Sign on URL field, paste this URL and replace “subdomain” with your company’s Received Digital subdomain:
				
					https://subdomain.receiveddigital.com/
				
			
  1. Click Save at the top and close the drawer.

Edit Attributes & Claims

  1. In the Attributes & Claims section, click Edit.
  2. Under Additional Claims, find the row with the value user.givenname, and click on it to edit it.
  3. Change its name to firstName and remove the value in the Namespace field.
  4. Click Save.
  5. Next, find the row with the value user.surname, and click on it to edit it.
  6. Change its name to lastName and remove the value in the Namespace field.
  7. Click Save.

Submit app federation metadata URL

  1. Navigate back by clicking the close icon in the top right, then scroll down to the SAML Certificates section.
  2. Copy the App Federation Metadata Url and send it to our team by submitting a support request here. Be sure to also include the name of the identity provider you are using.

Once you’ve submitted your request, we’ll complete the final steps and reach out to you when SSO has been enabled for your organization.

Table of Contents
Received Digital icon